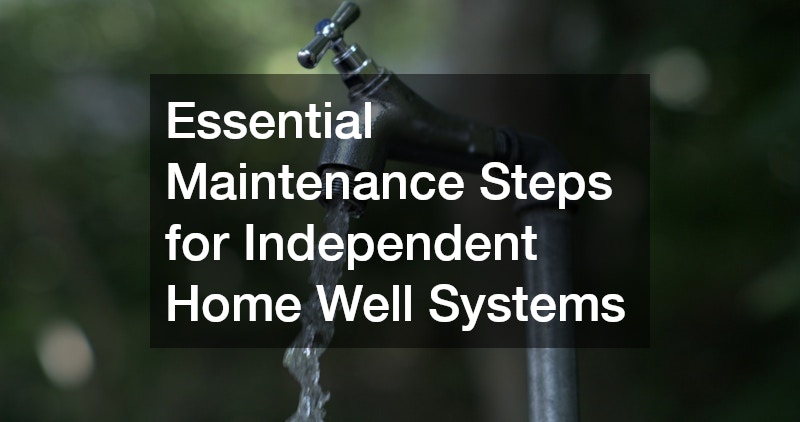
Owning a private well system provides an incredible sense of freedom. When your home relies on an independent water source, you never have to worry about rising monthly municipal water bills, chemical treatment choices made by city councils, or unexpected city-wide water main breaks. You are completely in charge of your own utility supply, tapping directly into natural underground aquifers.
However, this independence comes with a significant amount of responsibility. Unlike city residents who rely on municipal workers, a private well owner is their own utility manager. If a component breaks down or the water pressure drops to zero, the entire burden of diagnosing the issue and funding the fix falls on your shoulders. Neglecting your system can lead to health hazards, a complete lack of running water, or catastrophic structural flooding.
Fortunately, keeping your private well functioning perfectly for decades does not require advanced mechanical training. Successful ownership relies entirely on establishing a consistent schedule of basic inspection and preventative care. This guide will walk you through the essential steps needed to test your water quality, maintain your mechanical pressure systems, and protect your home from sudden moisture disasters.
Schedule Annual Contaminant Screening and Protect the Wellhead Area
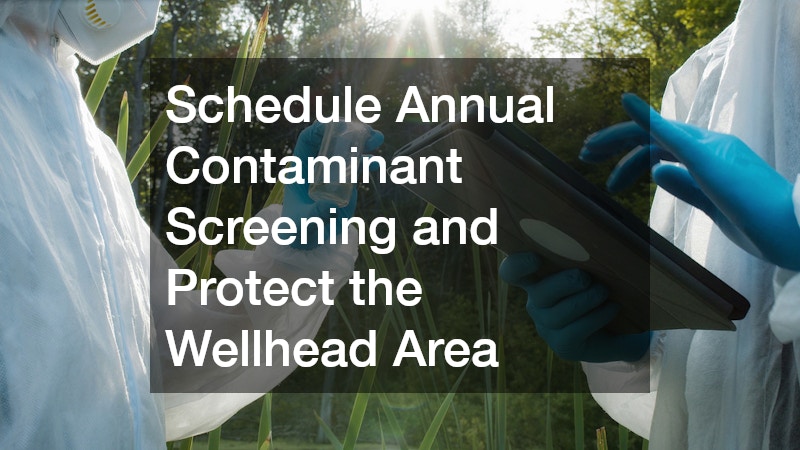
The most important aspect of maintaining an independent well system is safeguarding the water you drink every day. While municipal water is constantly monitored and filtered at a centralized plant, private well water can look crystal clear, smell normal, and taste great while still containing dangerous levels of bacteria, nitrates, or heavy metals like lead and arsenic.
To ensure your family stays healthy, you must test your water at least once a year, preferably during the spring when heavy rainfall can wash surface pollutants down into the water table. Additionally, create a strict safety perimeter around the visible wellhead cap. The casing must extend at least twelve inches above ground level to prevent surface floodwater from washing over the top. The sanitary seal on the cap should be tightly bolted and free of cracks to keep insects, rodents, or dirt from falling into your drinking supply.
To protect your water source from external pollutants, implement these basic habits:
- Create a hundred-foot buffer zone: Never store or use chemical fertilizers, weed killers, or motor oil within a hundred feet of your well casing.
- Redirect animal waste: Ensure that dog kennels, livestock pens, and septic tank drain fields are located far down-slope from your wellhead.
- Mow carefully around the casing: When cutting your grass, be careful not to strike the plastic or metal casing, which can crack the sanitary seal.
- Check the ground slope: Make sure the soil immediately surrounding your wellhead slopes gently downward, ensuring rainwater drains away rather than pooling.
If a water test reveals severe bacterial contamination deep underground, you may need to consult with a professional team that specializes in deep well drilling. When an older well completely dries up or collapses over time, upgrading your property will require certified water well drilling services to tap into a cleaner, deeper aquifer layer.
Monitor Pressure Tank Cycles and Listen for Unusual Mechanical Noises
Once you have verified that your water is pure, you need to turn your attention to the mechanical heart of your system: the pump and the pressure tank. Your well pump sits deep underground, pushing water up into a pressurized storage tank inside your home. This tank utilizes an internal rubber bladder and compressed air to push water through your faucets without requiring the electric pump motor to turn on every single time you rinse a dish.
The biggest threat to a mechanical well system is a condition called short-cycling. Short-cycling happens when the air pressure inside your storage tank drops too low or if the internal rubber bladder ruptures. When this happens, the tank can no longer hold a steady cushion of air pressure. As a result, the moment you open a faucet, the water pressure drops instantly, forcing the heavy electric pump motor to click on. The moment you close the faucet, the pump clicks right back on. This rapid cycling places immense stress on the pump motor, causing it to overheat and burn out prematurely.
Keep your mechanical delivery system running smoothly by using these diagnostic checks:
- Check the air pressure twice a year: Turn off the power to your pump, drain the pressure tank completely, and use a tire pressure gauge on the top valve to ensure the air pressure is correct.
- Listen to the pressure switch: Walk into your utility closet while water is running. The plastic control switch box should click firmly when the tank empties and click again when it fills, with a long pause in between.
- Watch for sputtering faucets: If your faucets blast air when you turn them on, your pump may be drawing in air from a low water table.
- Clean the electrical contact points: Dust, moisture, and small insects can crawl inside the pressure switch casing, blocking the electrical contacts and causing your pump to fail.
Catching a flickering pressure switch early can save you from paying for emergency well pump repairs during a freezing winter night. If your system is more than fifteen years old and stops delivering water entirely, a technician will need to perform a brand-new well pump installation to restore your household’s flow.
Keep Basement Storage Areas Dry and Inspect Indoor Pipe Fittings Regularly
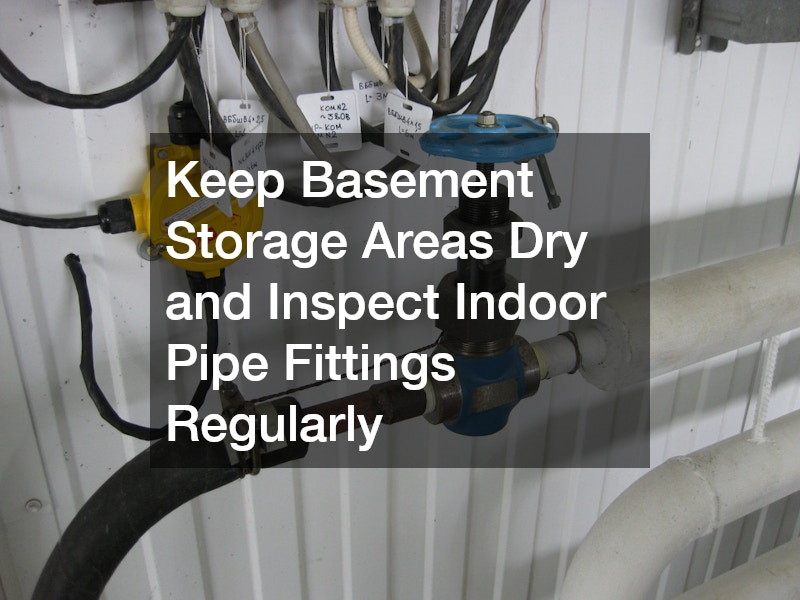
While managing your outdoor wellhead will keep the water flowing, you must also protect your home’s interior structure from the physical power of that water. In an independent well system, water enters your house under intense pressure. If a heavy metal fitting fails, if a plastic pipe cracks due to freezing temperatures, or if a relief valve sticks open, hundreds of gallons of water can flood your basement in a matter of minutes.
Because well equipment is typically tucked away in dark basements, crawlspaces, or isolated utility closets, small pinhole leaks can easily go completely unnoticed for months. A tiny, steady drip from a brass connection can slowly saturate the surrounding wooden floor joists, warp your subflooring, and trigger dangerous mold growth behind your drywall. To protect your home from these hidden, silent structural disasters, you must establish a routine of checking your indoor plumbing connections manually.
Maintain a dry and secure indoor environment by following these simple water-management habits:
- Install smart water leak sensors: Place small flood alarms directly on the floor beneath your pressure tank and main shut-off valves to alert your phone instantly if moisture is detected.
- Label your main disconnect switch: Make sure every adult in your household knows exactly which electrical breaker turns off power to the well pump, allowing you to stop the water flow instantly during a pipe burst.
- Check for tank condensation: In humid weather, cold groundwater entering the steel pressure tank can cause heavy sweat or condensation to drip onto your floors. Wipe the tank down regularly.
- Examine pipes for corrosion: Look closely for green, powdery stains on copper pipes or white crusty scale on brass fittings, which are early warning signs that a metal pipe is weakening.
Ignoring a tiny, dripping connection on your pressure tank can slowly rot your floorboards and force you to pay for expensive plumbing repairs. When an indoor pipe bursts open while you are away at work, you must immediately call a local emergency water damage services team to extract the pooling water.
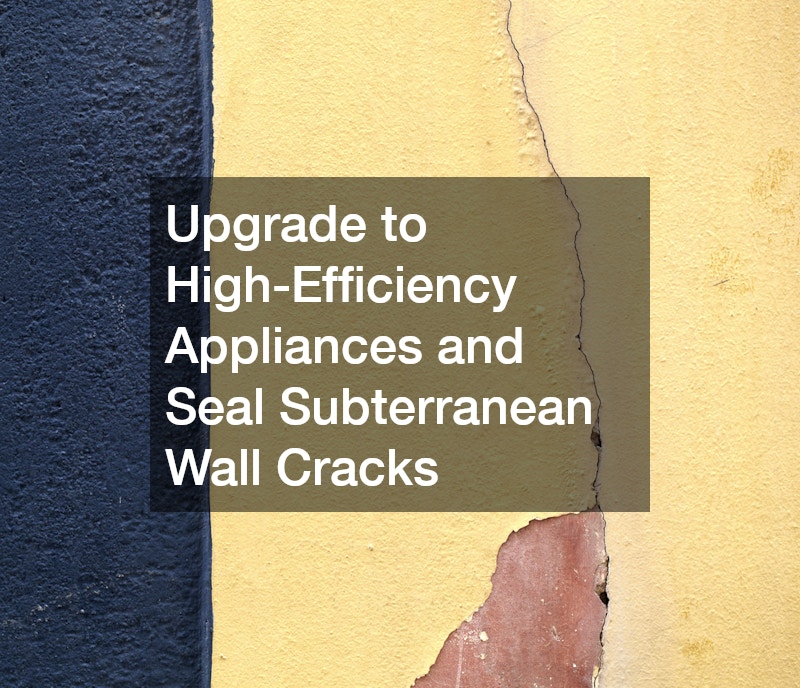
Upgrade to High-Efficiency Appliances and Seal Subterranean Wall Cracks
To truly optimize an independent well system and extend the life of your mechanical hardware, look for ways to reduce the overall workload on your pump. Every single gallon of water that exits your faucets requires your pump to expend electrical energy and mechanical wear. By lowering your home’s overall daily water demand, you directly reduce the number of times your well pump must cycle on and off each day.
One of the most effective ways to modernize an independent well home is to evaluate how your water is heated. Traditional tank-style water heaters continuously hold forty to fifty gallons of hot water, creating a constant draw on your plumbing system and accumulating heavy mineral scale at the bottom of the tank. Upgrading to advanced, on-demand heating technology allows water to be heated instantly only when a faucet is opened, lowering your energy bills and providing a smooth flow that works perfectly with a well pressure tank.
Implement these home efficiency and structural protection projects to maximize your utility setup:
- Install low-flow fixtures: Upgrade your showerheads and faucets to high-efficiency models that mix air into the water stream, providing great pressure while using less water.
- Monitor your water softener: Well water often contains high levels of calcium and magnesium. Ensure your water softener is regularly filled with salt to protect your pipes from internal mineral blockage.
- Look for foundation cracks: Inspect your basement walls after a heavy rainstorm. If you see damp spots or mineral tracks on the concrete blocks, water is pushing through from the outside soil.
- Keep the utility room well-ventilated: Use a small exhaust fan or a standalone dehumidifier to pull excess humidity out of the air around your water systems.
Hiring a certified tankless water heater installer ensures your new energy-efficient system handles well water minerals correctly without scaling up. If you notice a steady pattern of dampness or puddles on your basement floor after heavy rain, it is time to hire professional waterproofing contractors to seal the exterior foundation.
Act Quickly During a Flood to Stop Mold Growth and Save Structural Wood
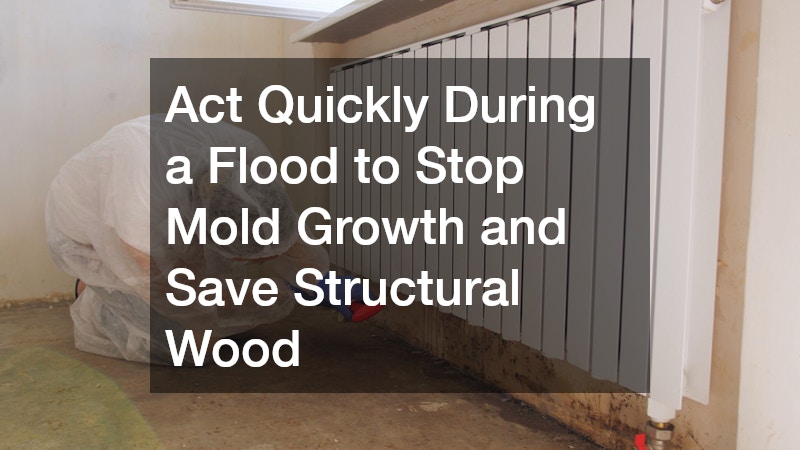
Even with a meticulous preventative maintenance routine, mechanical parts will eventually wear out, and unexpected emergencies can still happen. A severe lightning strike can fry your pump controls, or a winter deep freeze can split an indoor pipe wide open while you are traveling. If you return home to find that a plumbing failure has caused a major indoor flood, your speed of response will completely determine how much of your property can be saved.
The first forty-eight hours after a water disaster are absolutely critical. When water saturates wood framing, drywall, carpets, and insulation, it creates a perfect breeding ground for toxic mold spores. Mold can begin to colonize a wet room in less than two days, spreading rapidly through your wall cavities and contaminating your indoor air quality. Trying to dry out a flooded room using standard household box fans and a shop vacuum is simply not enough, as moisture quickly gets trapped deep inside the pores of the structural wood.
Take these immediate emergency recovery steps if your home suffers a major water disaster:
- Cut the power safely first: Never walk into a flooded room or standing water until you have completely turned off the electricity to that area at the main breaker panel to avoid electrocution.
- Remove saturated soft materials: Pull up ruined carpets, foam padding, and area rugs, and move them out of the house to stop mold from spreading to the structural subfloor.
- Cut away wet drywall: Strip out all water-damaged drywall and fiberglass insulation at least two feet above the highest water mark to allow the hidden wooden wall studs to dry.
- Use professional drying equipment: Utilize commercial-grade, high-capacity dehumidifiers and industrial air movers to rapidly extract deeply embedded moisture from the structure.
Saturated structural drywall and ruined insulation must be fully stripped out and dried by a certified water damage restoration service. Working with a professional damage restoration service ensures your home is fully tested with professional moisture meters before you rebuild the walls.
Conclusion
Managing an independent home well system is an empowering experience that connects you directly to your property’s vital resources. While the responsibility of managing your own utility water supply can feel a bit daunting at first, it becomes incredibly simple once you establish a regular routine of basic inspections. Conducting an annual water purity screening, keeping a clean perimeter around your outdoor wellhead, and checking your pressure tank’s air levels are simple actions that yield massive long-term benefits.
When you care for your well system proactively, you protect your family’s health, ensure a steady and reliable flow of water, and keep your home structure safe from water damage. A well-maintained system can easily provide crystal-clear water for decades without a single major breakdown. Treat your mechanical hardware with care, listen for unusual changes in your pump’s operation, and build a relationship with qualified local specialists before an emergency ever arises. By staying dedicated to regular, simple upkeep, your independent water supply will remain a strong, safe, and dependable asset for your household for generations to come.